BitPay recently announced our support for Polygon network payments, including paying with and receiving MATIC, plus other ERC-20 tokens on the Polygon network. This means you can send and receive with the security of Ethereum at a fraction of the cost. Learn how to use Polygon with the BitPay Wallet or other supported wallets.
Polygon is a layer 2 solution for the Ethereum blockchain. It doesn’t seek to replace or overtake Ethereum. It was created for the purpose of utilizing the security and functionality of Ethereum, while improving its scalability for faster and cheaper transactions. Read our full guide to Polygon and MATIC here. Read our full guide to Polygon (MATIC).
How to pay a BitPay invoice over the Polygon network
Paying a Polygon invoice is similar to paying any other BitPay invoice, though with a few extra options.
Step 1: At checkout, select BitPay as your payment method.
BitPay is the safest and most secure way to pay online.
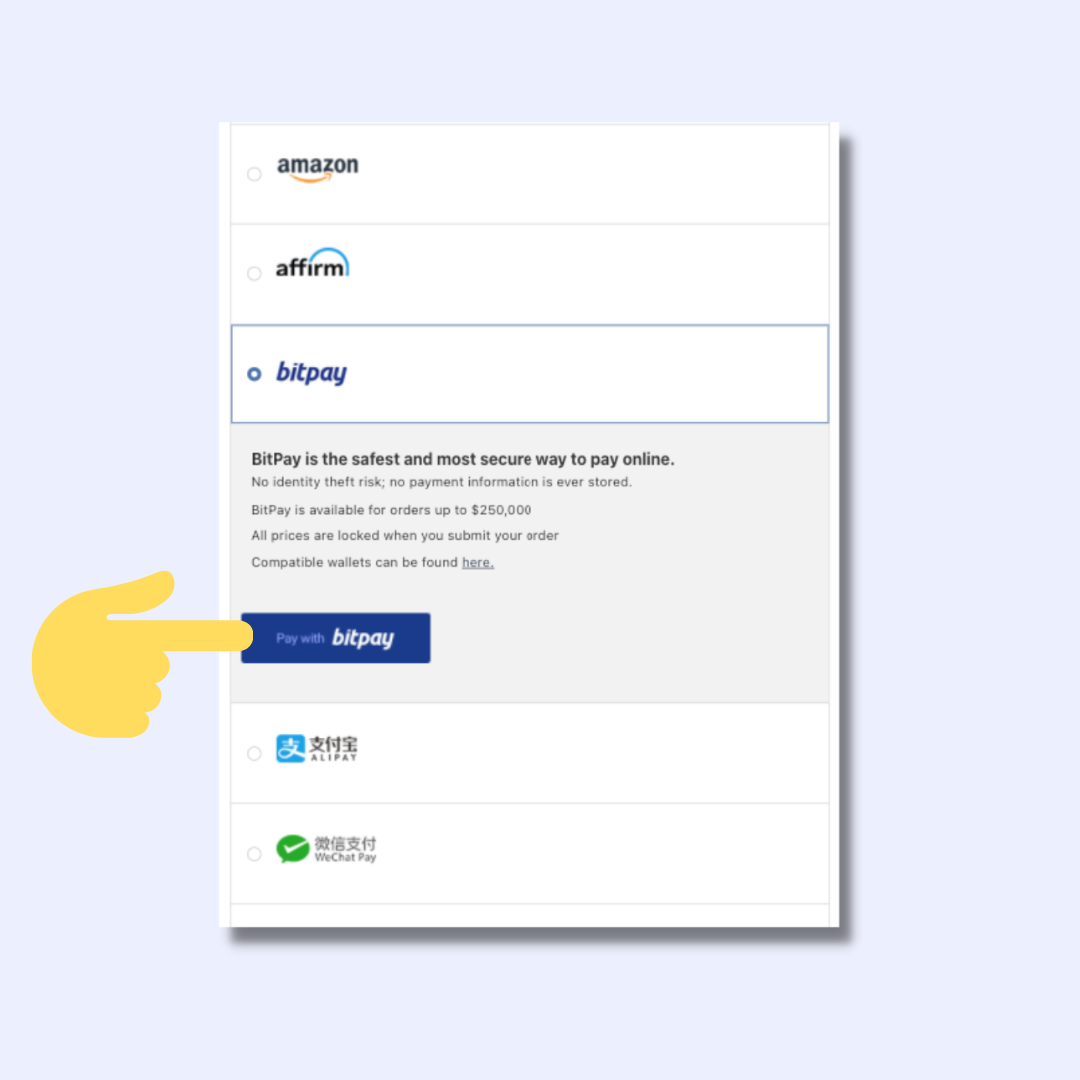
Step 2: Select Begin Payment.
Depending on the merchant you are paying or the transaction amount, you may be prompted to verify for BitPay ID. Don’t have a BitPay ID? Sign up to get started. BitPay ID is a simple way to manage your payments information with BitPay and simplify logins for multiple BitPay products. All that is required is an email and password. The one-time verification requirement is for people making BitPay merchant or prepaid payments of $3,000+, initiating refund requests for amounts of $1000+, or receiving BitPay payouts.

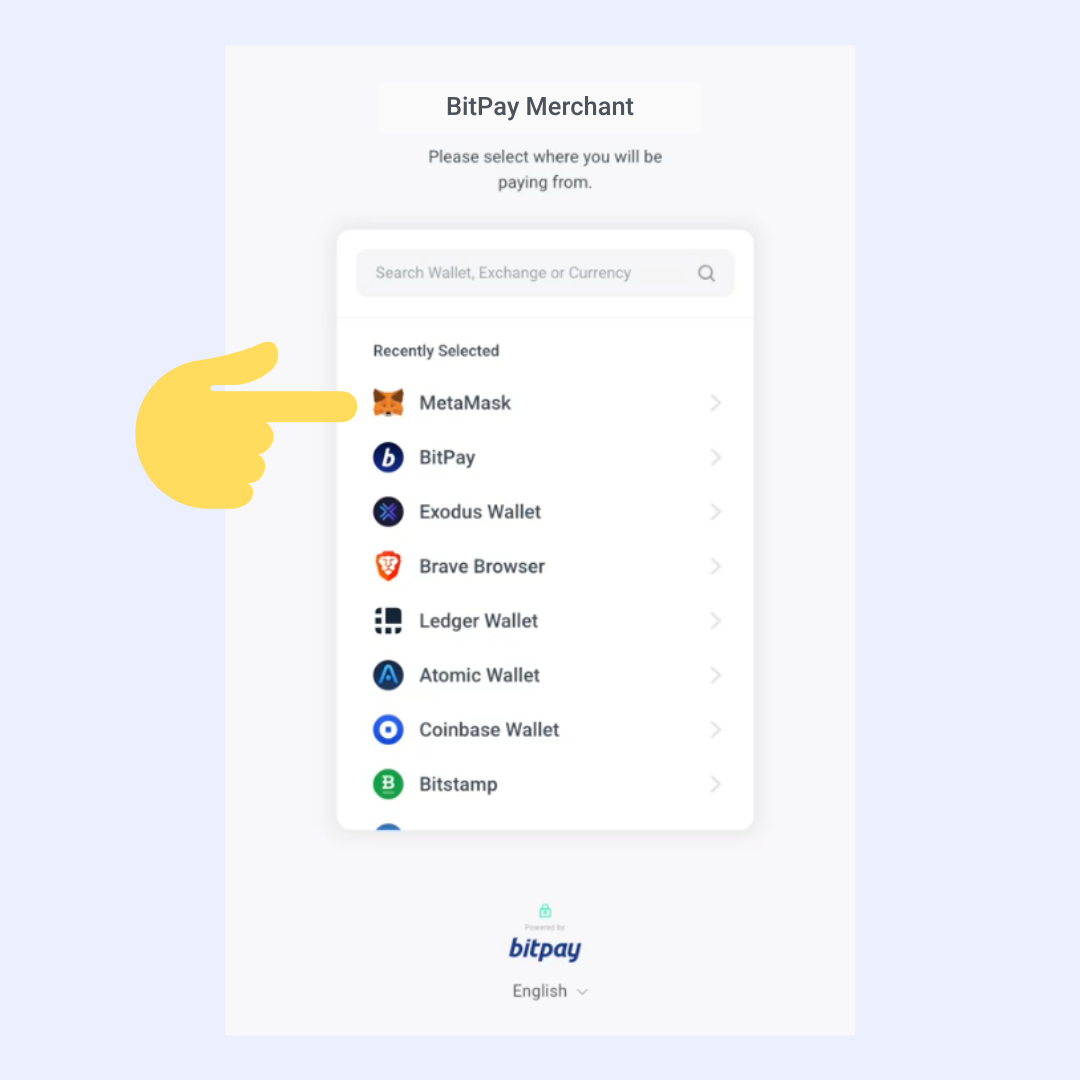
Step 3: Select your wallet.
BitPay supports over 100 of the most popular cryptocurrency wallets. Your preferred wallet may not support Polygon network transactions.
Step 4: Select your cryptocurrency.
BitPay supports MATIC and other ERC-20 tokens on the Polygon network, as well as the Ethereum network. An icon denoting supported networks will be next to each token, denoting compatibility. Select the coin/chain you’d like to use to make your payment. You may be asked to enter your email address if you did not already sign in with your BitPay ID. Your email will be used to receive payment information and process refunds.
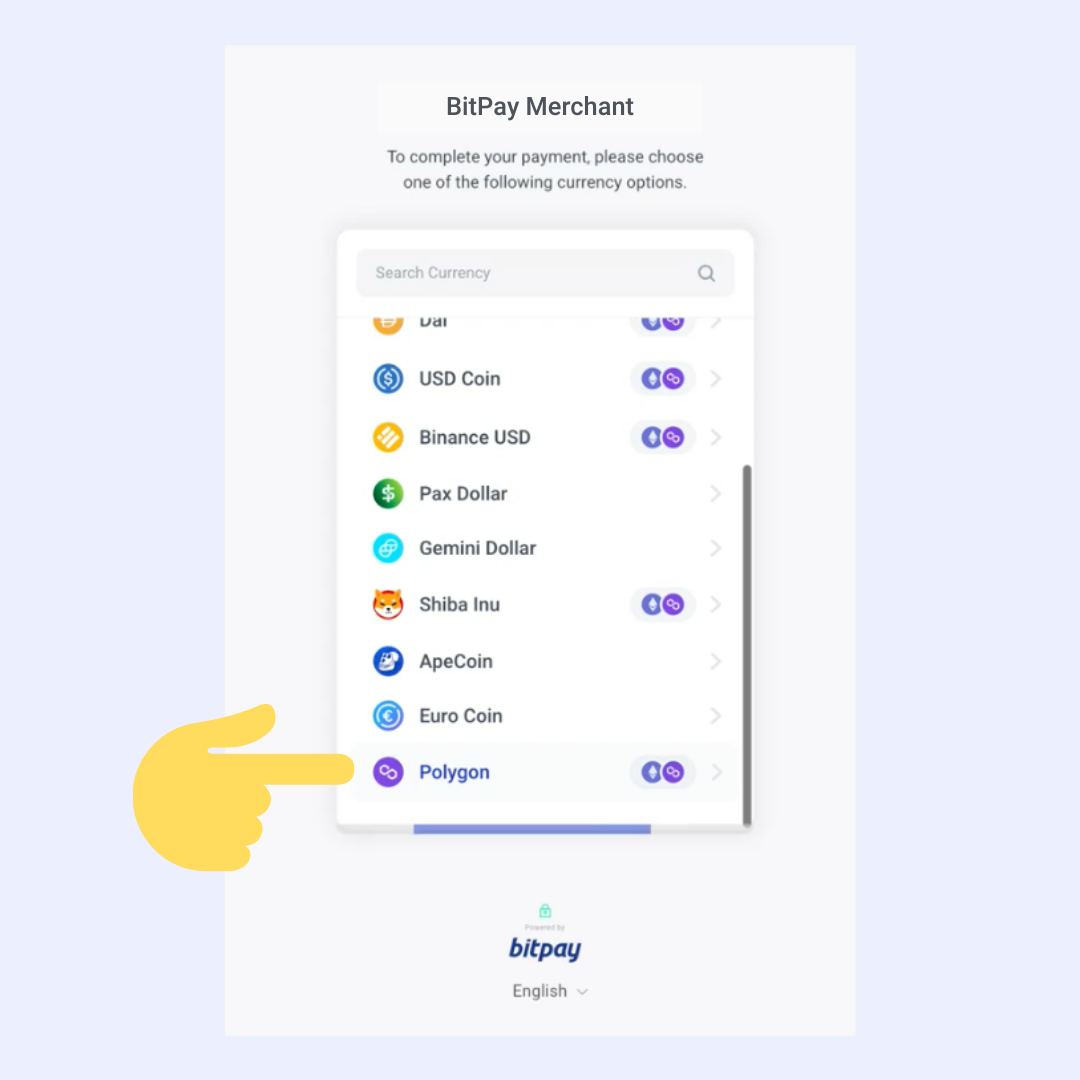
Step 5: Scan the QR code with your wallet app, tap “Make Payment” or input the merchant’s receiving wallet info manually into your wallet to complete the transaction.
Depending on the Polygon wallet used, your payment steps may vary.
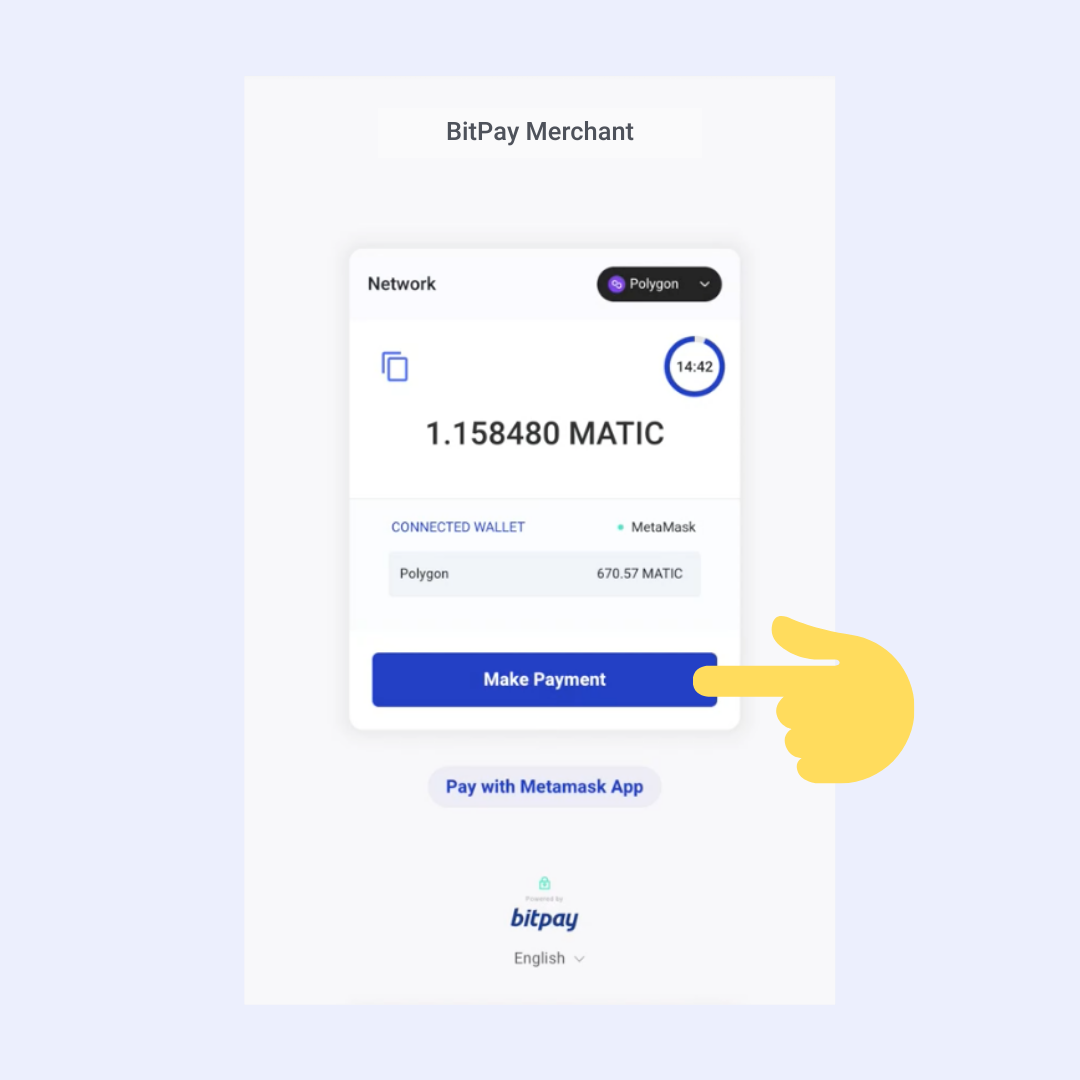

Step 6: Confirm payment
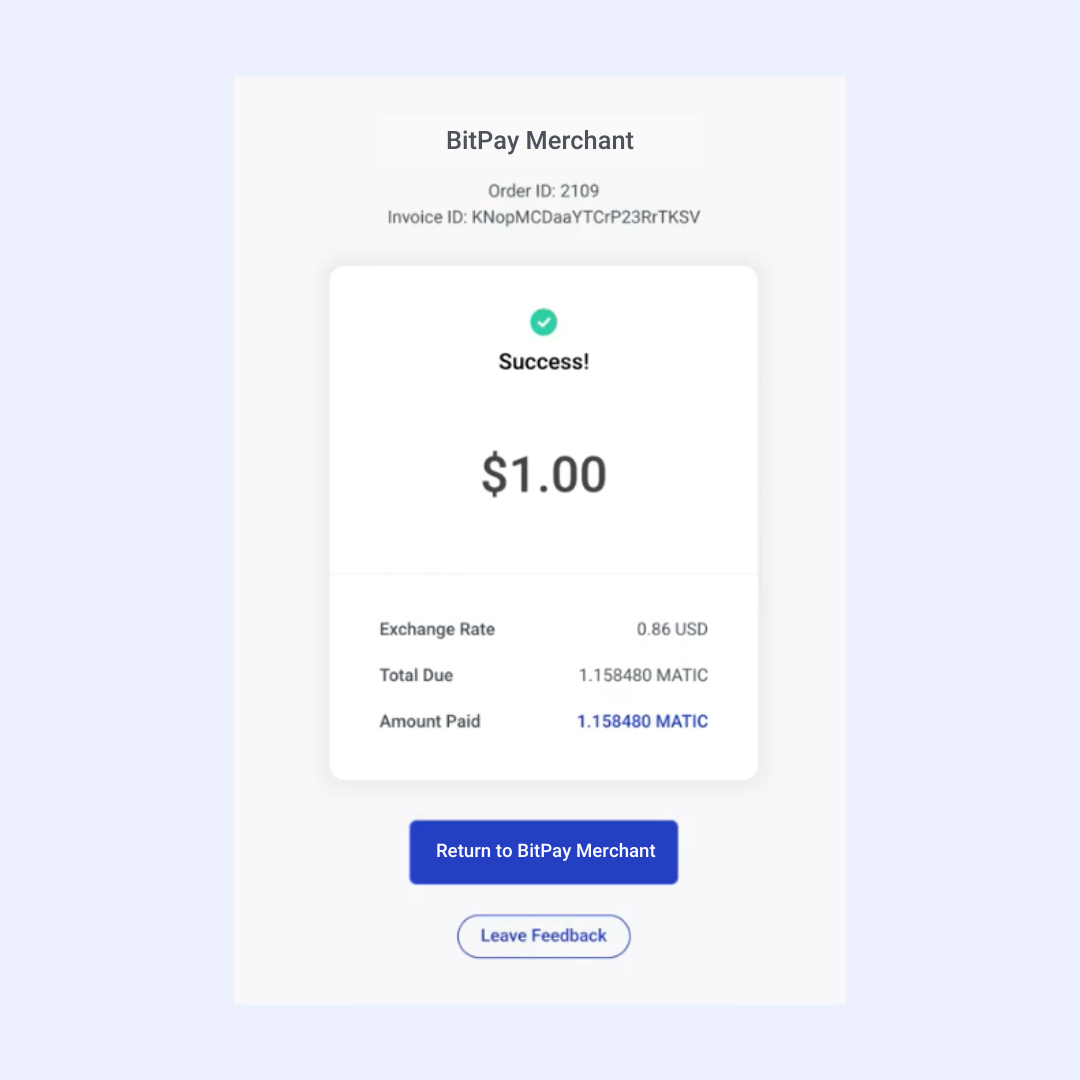
Press Confirm payment. You’ll see the payment reflected on the invoice instantly once you validate the payment in your wallet. Remember to send your payment during the 15-minute payment window.
